


Watermaker : Starting Procedure
After a long period of winterization or non utilization of the water maker, a restart procedure is necessary. This equipment is composed by an addition of pumps and a complicated circuit of filters and membranes, which needs to be used regularly to run well, as every sophisticated mechanical system. I propose you here a review of the necessary operations to restart a watermaker after a long period.
First of all, if things were well done during the winterization, your watermaker has been rinced or sterilized. You will therefore need to start it in manual mode at the lowest possible pressure in order to evacuate the fresh water from the membranes. Let us remember that the membranes should not be used at a high pressure when fresh water is in it. In the case of a simple rincing with fresh water, the watermaker will need to run at least 5 minutes with sea water and a low pressure before its pressure is increased to the production level. In the case of a sterilisation of the membranes, you will need to wait a minimum of 15 minutes to make sure that the product is evacuated from the machine, before the fresh water is drained to the water tank.
Here is how to proceed :
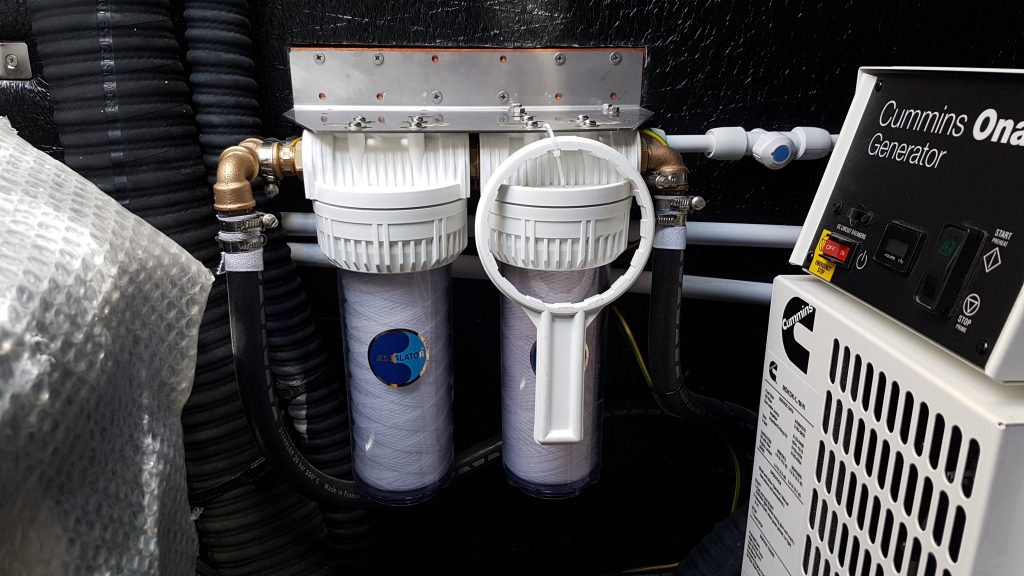
- Start by checking and/or changing your pre-filters. The old ones have not been used for a long time and can be dirty.
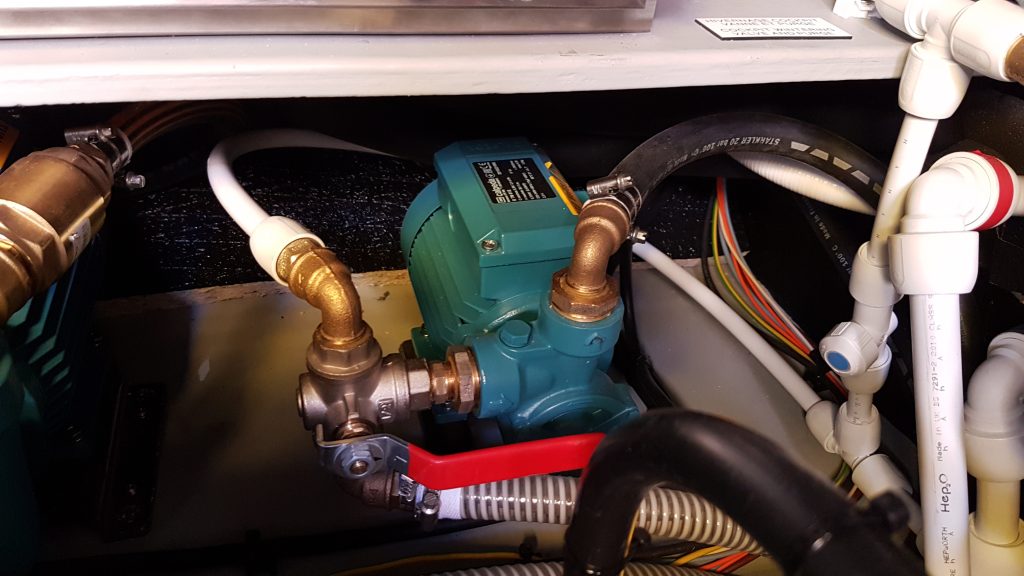
- Proceed to a 2-3 minutes rinsing, which will prime all the water circuit and help the pumps to start without air. Let us remember that you need therefore water in the fresh water tank, and the fresh water pump running. You will then have to turn the rinsing valve (the red one on the picture below). A pressure should be visible on the low pressure manometer.
- During the rinsing :
- Make sure that the fuse of the low pressure pump is on (behind the control panel) :

- Switch the commutator on “Manual” (yellow box on the picture below)

- Screw the regulating valve at its maximum = reduce the pressure (red box on the picture above)
- Make sure that the fuse of the low pressure pump is on (behind the control panel) :
- Once the rinsing is over, make sure that the main and secondary seacock are open, and start your water maker. You will be able to follow the initialization of the watermaker as described in the article “Basic operating“
- There is a strong probability that the first start of the watermaker won’t work because of an alarm and an automatic stop of the watermaker. This is due to the fact that the low pressure pump is probably jammed after its long period of non utilization. Start again the process from step 3 and restart the machine 4-5 times. I insist on the control of the pump’s fuse before each start, as it will pop out to protect the pump each time an alarm occurs. If your watermaker starts after this, go to step 6. If not, you will need to “unjam the low pressure pump“.
- Once your high pressure pump has started, turn on the regulating valve clockwise to increase the pressure up to 10%.
- Your watermaker is then working with seawater and a minimal high pressure. It can run like this during hours. Wait 5 to 15 minutes, depending on the rinsing type you did previously, and you will then be able to produce fresh water.
Once this starting procedure is done, I recommend you to run your watermaker everyday or every two days so that its circuit doesn’t need to be primed.
You can also proceed to a re-synchronization of the automatic regulating valve once in a season. This simple procedure is described in the article “Manual Mode VS Automatic Mode“.